
SystemRescueCd – a live system that rescues data and systems
The Force Is with You
If you choose to boot SystemRescueCd, you will end up at the plain vanilla prompt shown in Figure 2 after the boot process. The live system has already logged you in as the omnipotent root user, so you are allowed to fiddle with all the knobs and dials – all the more reason to think carefully about the commands you will be running.
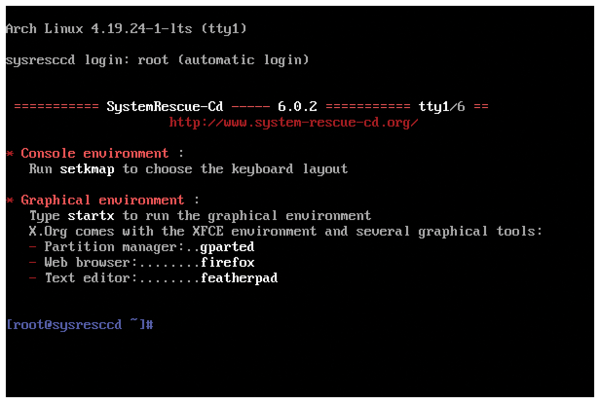 Figure 2: SystemRescueCD boots to the command line by default. This is especially useful if Linux fails to identify the graphics card.
By default, SystemRescueCd uses the US keyboard layout, so you may want to change the layout by calling setkmap and selecting the desired layout from the list. Note that this setting only applies to the command line.
You can launch the graphical user interface with the startx command; this simultaneously displays the lean Xfce desktop environment on the screen. All the major graphical programs are provided in the start menu (located behind the mouse icon at the bottom left of Figure 3).
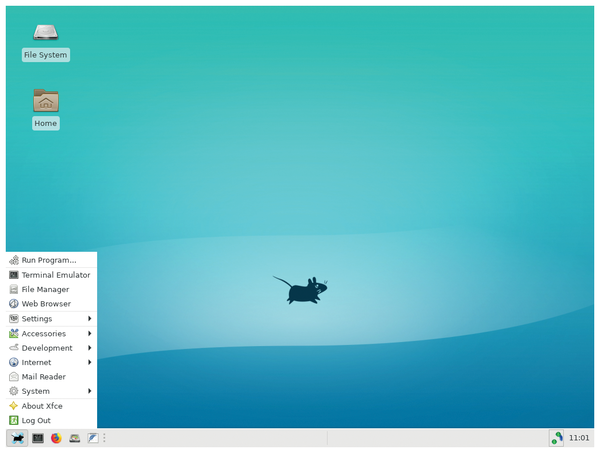 Figure 3: You will find quick start icons for the four particularly important applications Xfce Terminal, Firefox, GParted, and FeatherPad in the panel's bottom left corner.
The applications under Settings set up the desktop environment and the live system. For example, the screen settings are hidden behind Display, and the keyboard layout can be changed with Keyboard in the Layout tab.
Under Accessories, you will find several text editors, which you can use to edit configuration files. Besides the classic Vim, there are also more user-friendly offerings such as Joe's Own Editor and FeatherPad. Alternatively, you will find Geany under Development, while Nano is available at the command line.
Office applications like LibreOffice or Gimp are deliberately not provided. Since the current SystemRescueCd is based on Arch Linux, you can install additional software using the pacman [5] package manager. The syntax for the search is
pacman -Ss <search key>
to install, type
pacman -S <package>
Going Online
SystemRescueCd automatically tries to connect to the Internet. In the background, the live system relies on NetworkManager. A left click on the network icon bottom right in the panel shows the active connections that you can disconnect manually with Disconnect. If required, you can set up a connection yourself by right-clicking on the network icon and selecting Edit Connections or by selecting Settings | Advanced Network Configuration from the start menu.
At the command line, you can also set up the network with the familiar tools, such as ip or iwconfig for WLAN connections. To do this, however, you first need to disable NetworkManager (Listing 2, line 1). Then enable the desired interface and assign an IP address using ip; in line 2 of Listing 2, the Ethernet interface goes by the name of enp0s3.
Listing 2
Setting Up the Network
01 # systemctl stop NetworkManager
02 # ip address add 192.168.1.101/24 dev enp0s3
The TigerVNC Viewer, which you will find under Internet below the start menu, lets you quickly connect to a VNC server.
System | LSHW lists the hardware installed on the computer, thus giving you an overview of the system (Figure 4). First click Refresh and then double-click Computer. Then double-click on the terms in the other columns to access the desired components. In this way, you can find out, among other things, which firmware is used on a device and whether Linux has detected the device in question at all.
 Figure 4: Here lshw has detected an Intel processor among other things. All the black terms on the left side can be double-clicked to access further information.
At the command line, lshw lists all the hardware components. You can keep an eye on the rescue system's load and active processes with Htop and Task Manager. You will find both in the start menu below System. Htop can also be called directly in a terminal window (Figure 5).
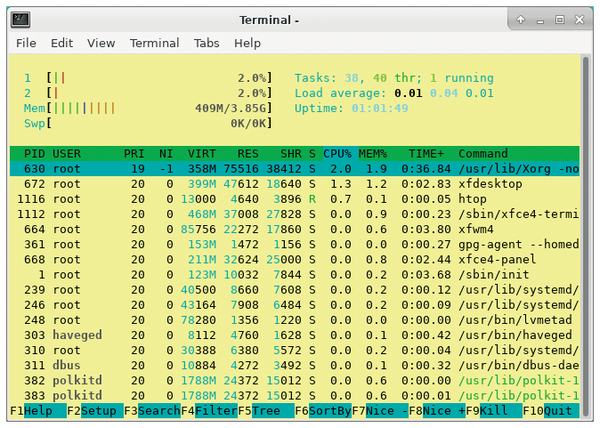 Figure 5: Htop helps you keep track of the active processes, as well as the system load and memory consumption of the live system.
Disk-Jockeying
File systems can be easily mounted by double-clicking on the Home icon on the desktop to start the Thunar file manager and then clicking on the data carrier in the sidebar. If you mount a disk at the command line, avoid mounting it directly in the /mnt/ directory: This could crash the live system.
Instead, create a directory like backup/ below /mnt/ and then mount the disk in the /mnt/backup/ folder. ZIPs and other archives can be opened by double-clicking or using Xarchiver, which you can access below Accessories | Xarchiver in the start menu. SystemRescueCd can handle ZIP as well as many other formats, such as RAR. At the command line, you need to use command-line programs such as unzip or unrar to unpack the files.
One especially useful tool is hidden below System | GParted. The graphical partition editor lets you change the current partitioning or create new partitions (Figure 6). Before you call a function, first make sure that you have selected the correct data carrier in the drop-down list top right. In the list below, you will find all the current partitions; the bar chart between toolbar and list visualizes the capacity usage. Using the Partition menu, you can apply various actions to the partition currently selected in the list (e.g., changing its size with Resize/Move).
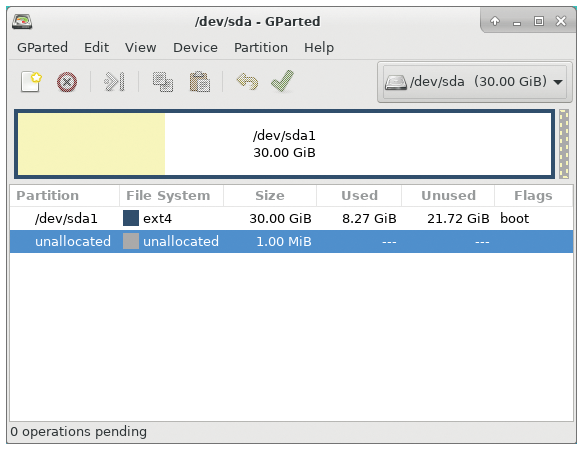 Figure 6: GParted wants to change the first hard disk (/dev/sda1), which occupies 30GB on the hard disk.
Check tells GParted to check the filesystem on the partition for faults and try to correct them. However, the tool cannot do magic and is powerless in case of hardware defects. GParted first collects all the actions you have selected. To actually apply them, click on the green check mark in the toolbar or select Edit | Apply All Operations.
« Previous 1 2 3 Next »
Buy this article as PDF
(incl. VAT)
Buy Linux Magazine
US / Canada
UK / Australia
Subscribe to our Linux Newsletters
Find Linux and Open Source Jobs
Subscribe to our ADMIN Newsletters
Support Our Work
Linux Magazine content is made possible with support from readers like you. Please consider contributing when you’ve found an article to be beneficial.

News
-
Canonical Releases Ubuntu 24.04
After a brief pause because of the XZ vulnerability, Ubuntu 24.04 is now available for install.
-
Linux Servers Targeted by Akira Ransomware
A group of bad actors who have already extorted $42 million have their sights set on the Linux platform.
-
TUXEDO Computers Unveils Linux Laptop Featuring AMD Ryzen CPU
This latest release is the first laptop to include the new CPU from Ryzen and Linux preinstalled.
-
XZ Gets the All-Clear
The back door xz vulnerability has been officially reverted for Fedora 40 and versions 38 and 39 were never affected.
-
Canonical Collaborates with Qualcomm on New Venture
This new joint effort is geared toward bringing Ubuntu and Ubuntu Core to Qualcomm-powered devices.
-
Kodi 21.0 Open-Source Entertainment Hub Released
After a year of development, the award-winning Kodi cross-platform, media center software is now available with many new additions and improvements.
-
Linux Usage Increases in Two Key Areas
If market share is your thing, you'll be happy to know that Linux is on the rise in two areas that, if they keep climbing, could have serious meaning for Linux's future.
-
Vulnerability Discovered in xz Libraries
An urgent alert for Fedora 40 has been posted and users should pay attention.
-
Canonical Bumps LTS Support to 12 years
If you're worried that your Ubuntu LTS release won't be supported long enough to last, Canonical has a surprise for you in the form of 12 years of security coverage.
-
Fedora 40 Beta Released Soon
With the official release of Fedora 40 coming in April, it's almost time to download the beta and see what's new.